I have had so much trouble making tempeh. Crumbly, inconsistent results, batch after batch. And the troubleshooting guides online? Useless. Every single one boils down to the same set of contradictions:
- You cooked the beans too much
- You cooked the beans too little
- You dried the beans too much
- You dried the beans too little
- You incubated too hot
- You incubated too cold
- You packed too tight
- You packed too loose
- You split the beans too much
- You split the beans too little
Right. So that narrows it down to everything. I decided the only way forward was to go clinical — document every step, measure every variable, and remove every excuse. If this batch failed, I’d know exactly how and why.
Cracking the Beans
Most instructions say to soak the beans and then scrub the hulls off by hand, squeezing each one between your fingers. I skipped that entirely. It’s a waste of water and time when you can just pre-crack them.
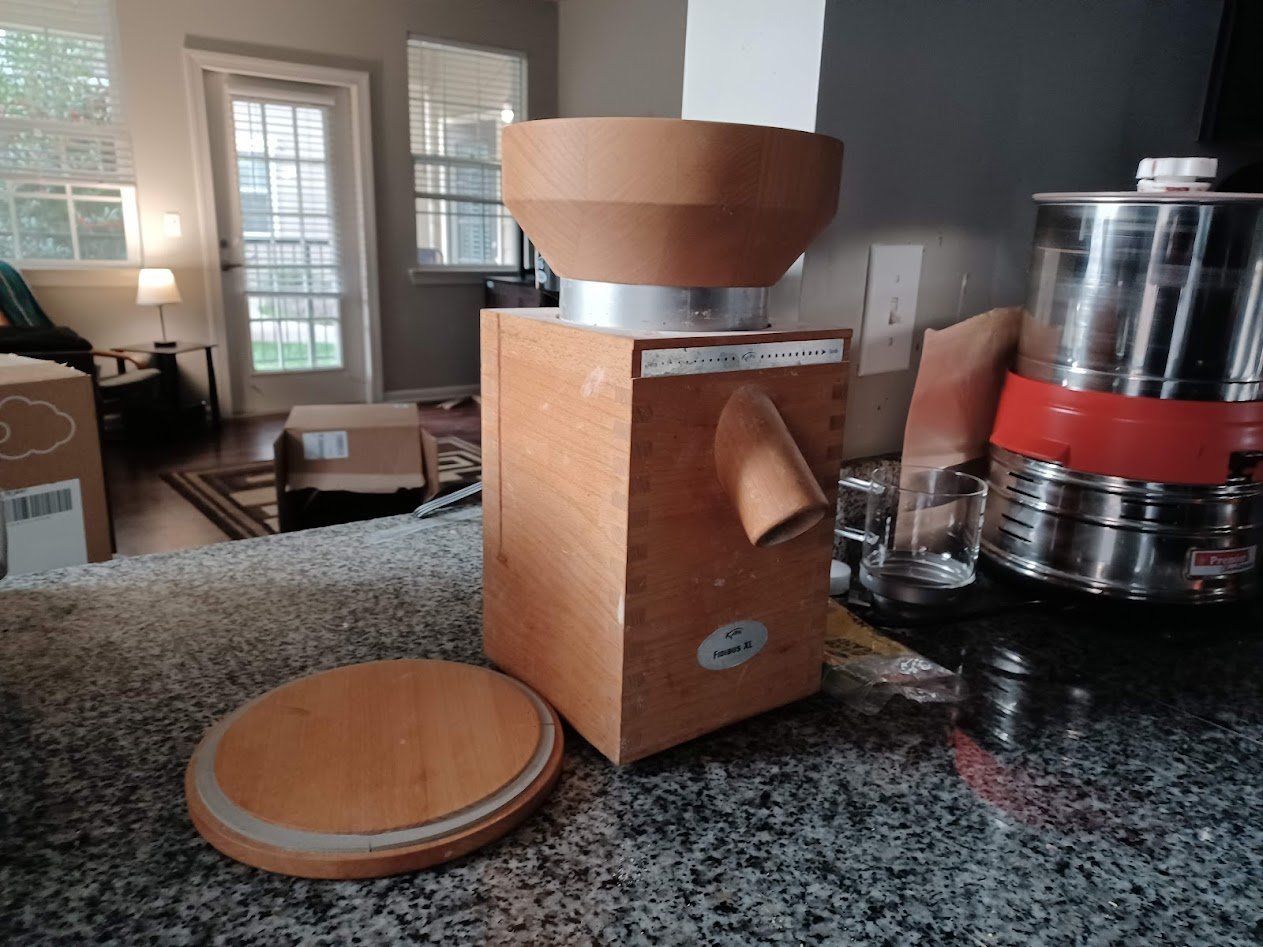
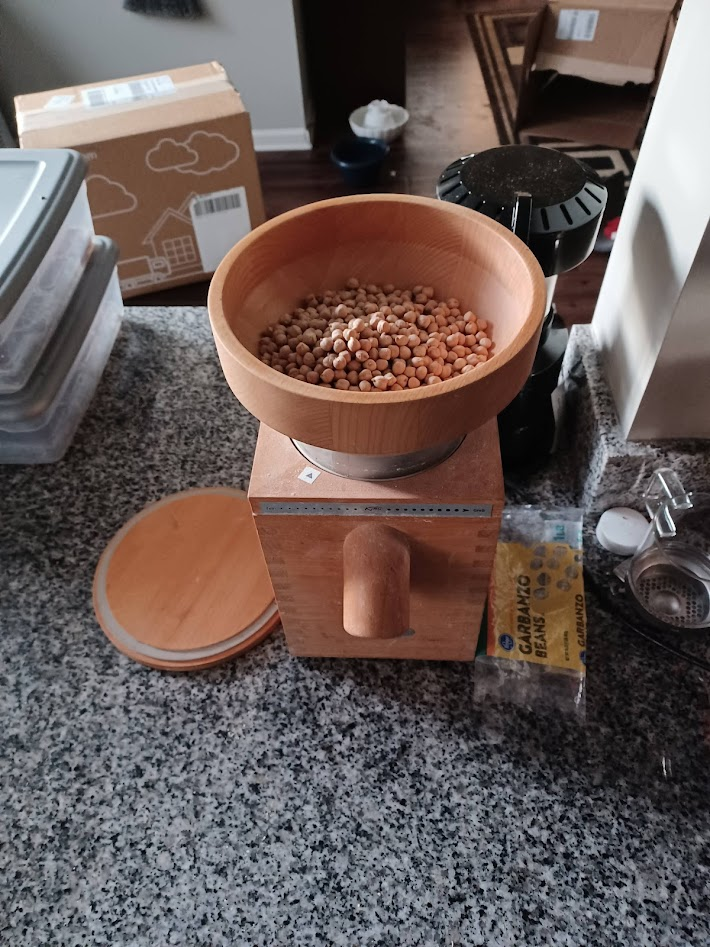
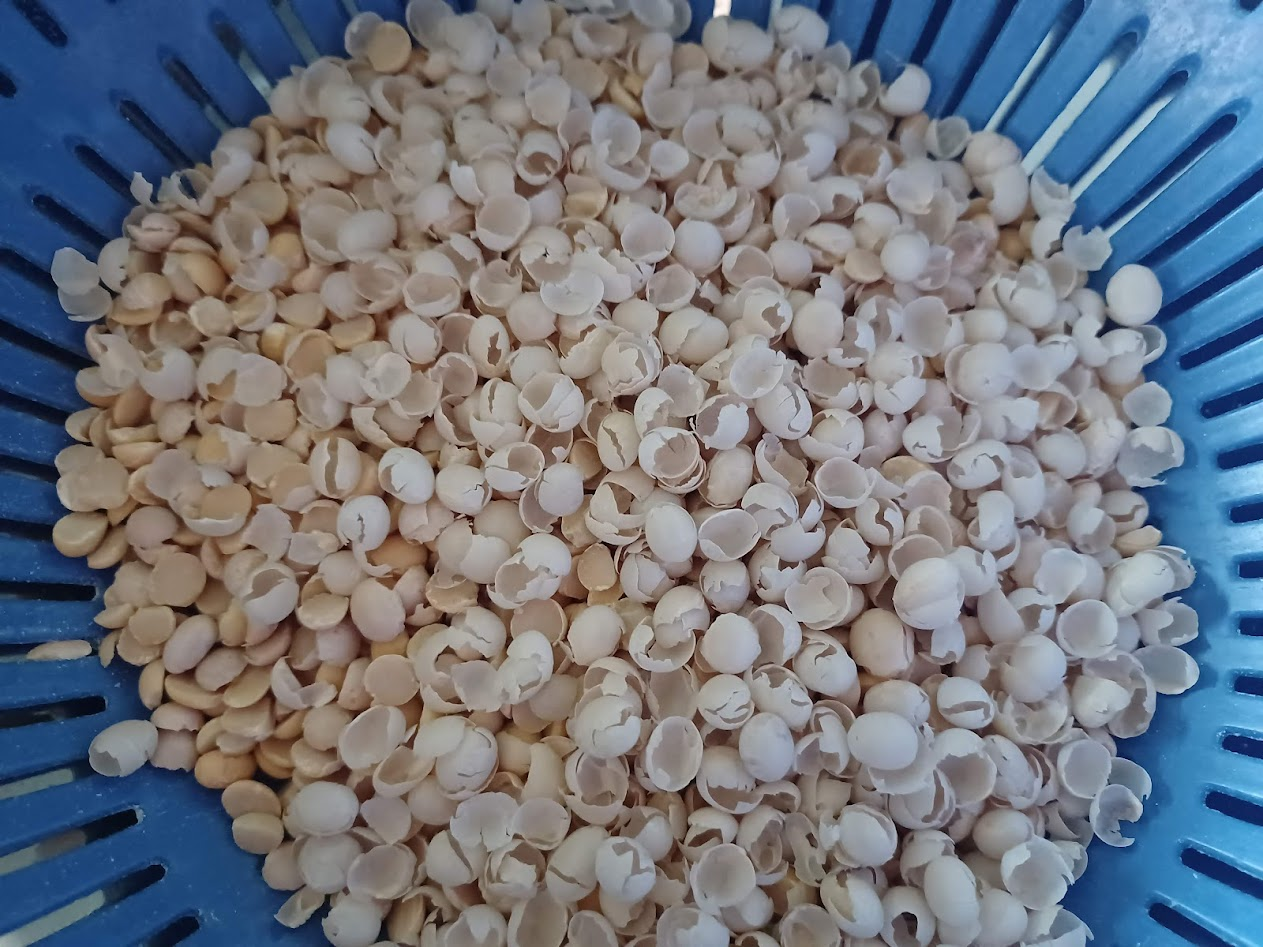
I widened the grinding wheels and ran a few test passes until I found a setting that splits the beans in half without creating too much dust. When you crack them this way, the hulls tend to fall right off.
A note: this post mixes photos from two batches — one garbanzo, one soybean. The process is the same for both.
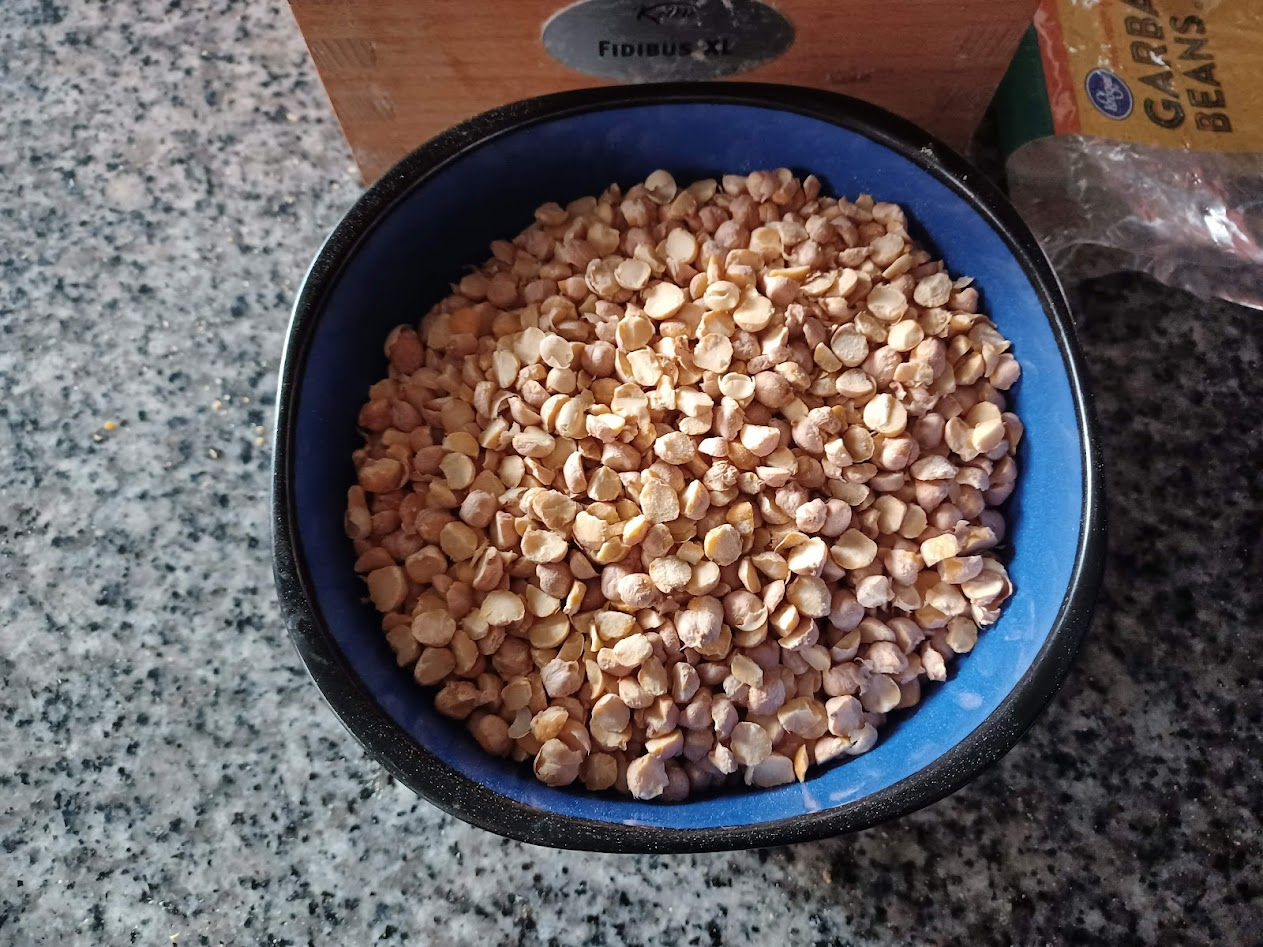
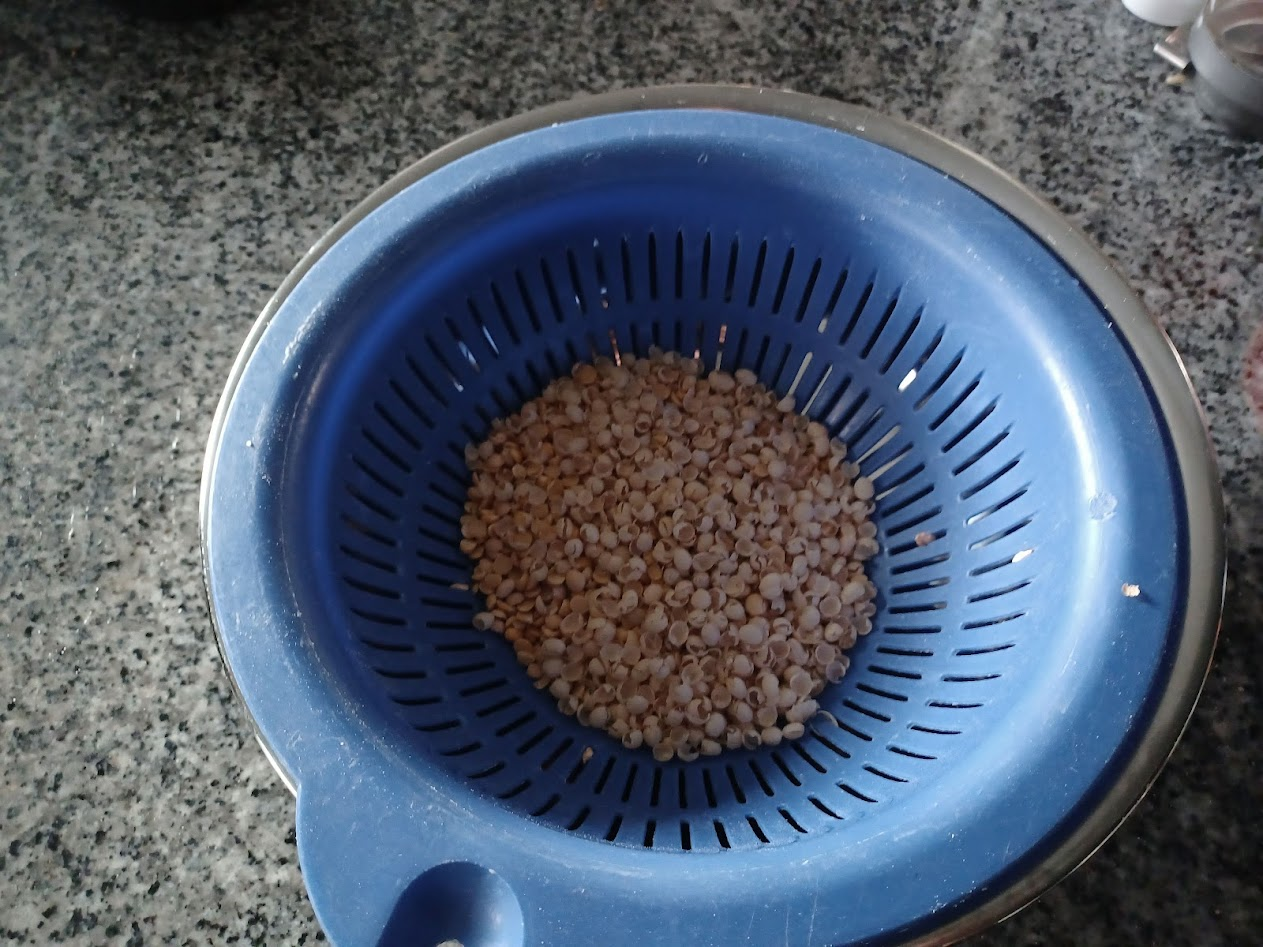
I shook the colander a few times and the empty hulls floated to the top. A quick pass with a hair dryer — one I keep in the kitchen specifically for cooking — cleared them off in a couple of passes.
I boiled the beans until they reached the consistency of a boiled peanut — maybe a lima bean. Soft enough to eat, firm enough to hold shape. I didn’t photograph this step because it’s just boiling beans.
The Bags
For tempeh, you need a bag with small holes — enough airflow for the Rhizopus mold to breathe, but not so much that the surface dries out. Traditional tempeh is wrapped in banana leaves; we’re making an artificial one.
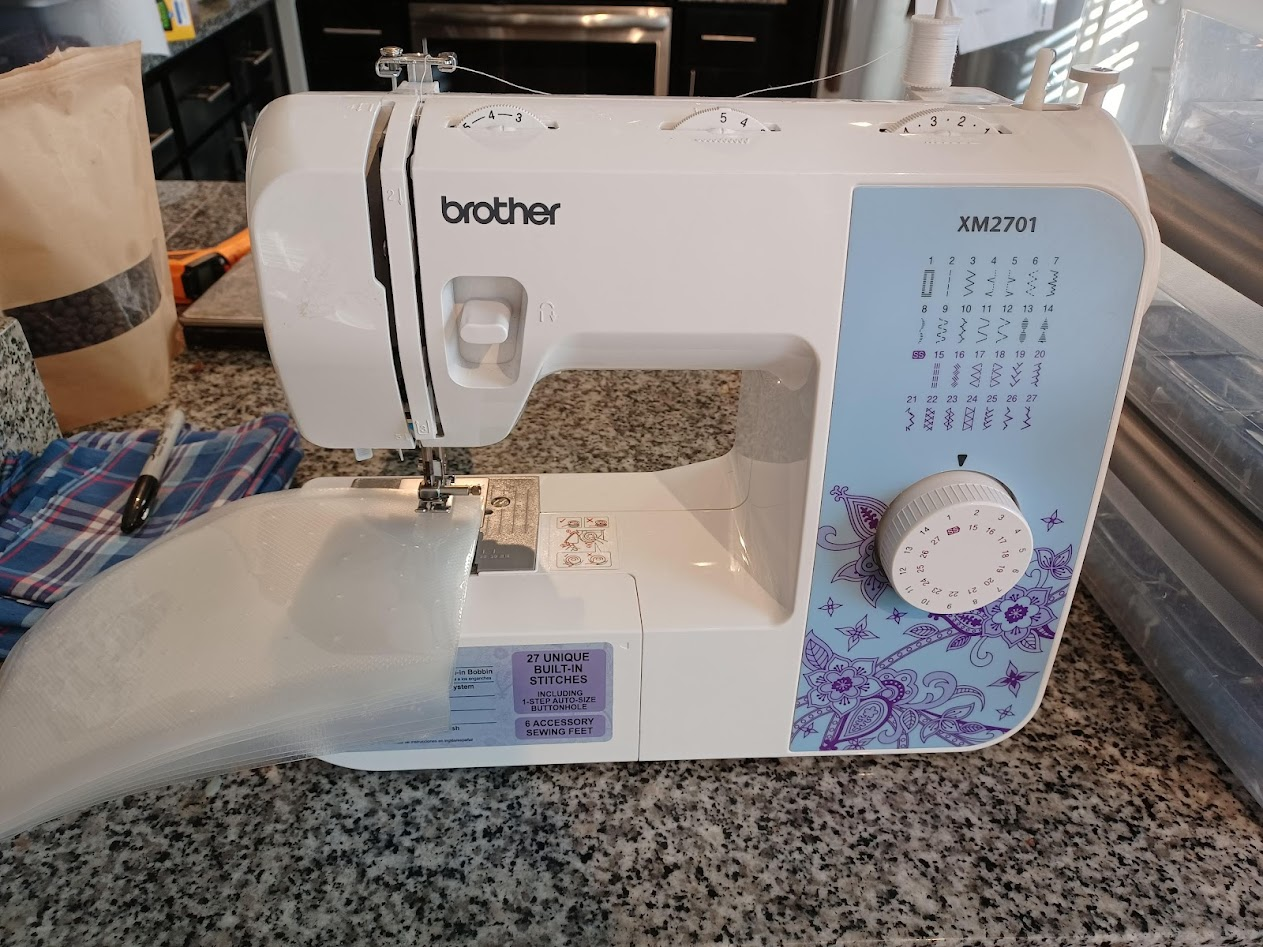
I read a paper that described optimal tempeh incubation using bags with holes punched by a number 7 needle, spaced half an inch apart, on 1.5mm polyethylene. Here’s what I actually used a size 12 sewing needle at one-inch intervals on a 3mm polyethylene bag. Size 12 is thicker than size 7.
Drying and Inoculation
This is the step I suspect most guides don’t emphasize enough, and where most batches quietly go wrong.
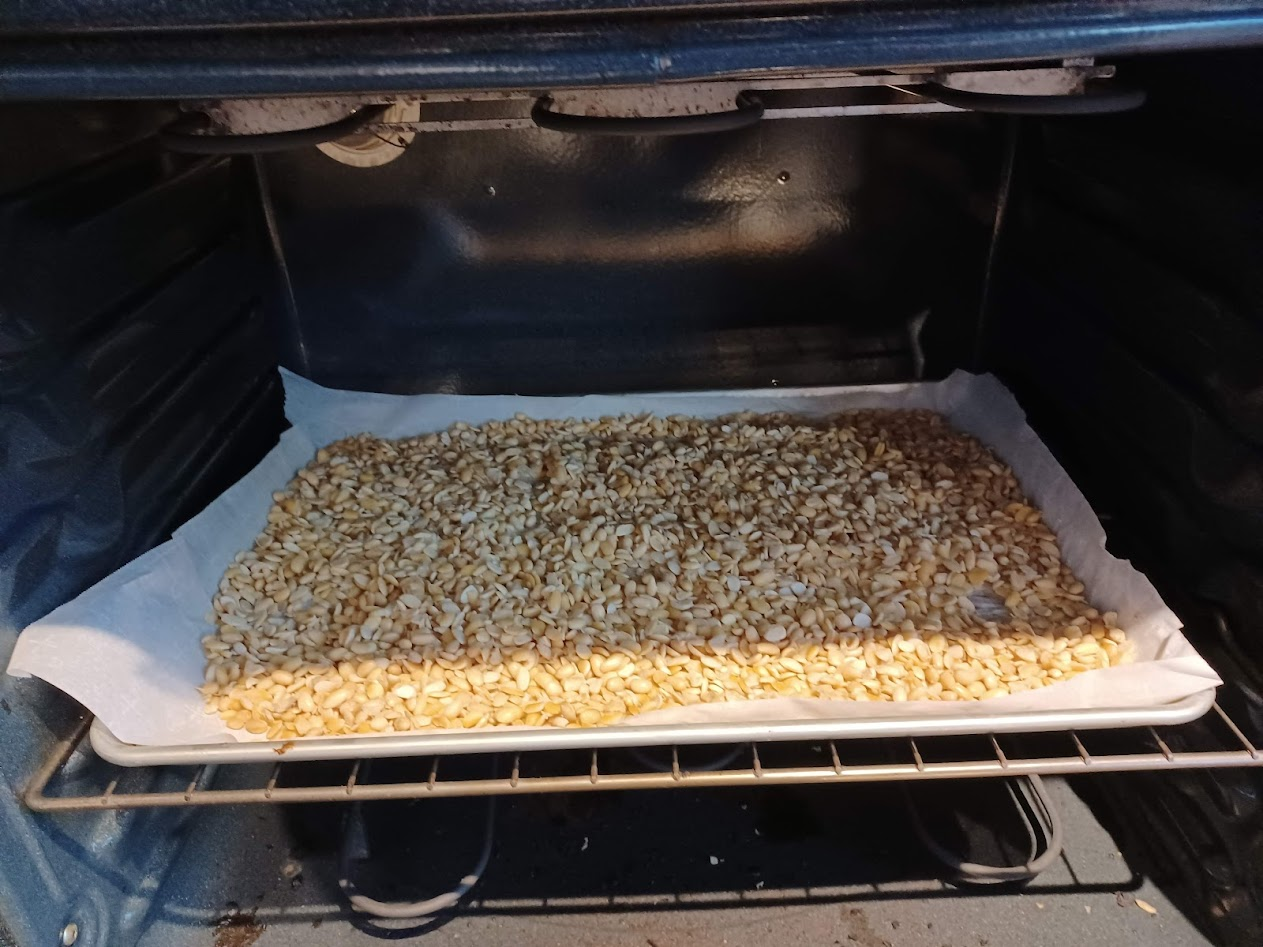
I set my oven to 170°F and stirred every few minutes until the beans were dry. Actually dry — not “they look dry.” Dry as in my hand doesn’t get wet when I grab a handful. I raised my fist to my face and told each bean it would become tempeh or die.
Once the surface moisture was gone, I added a few tablespoons of distilled white vinegar and let that evaporate too. The vinegar lowers the pH enough to give the Rhizopus a head start over competing bacteria.

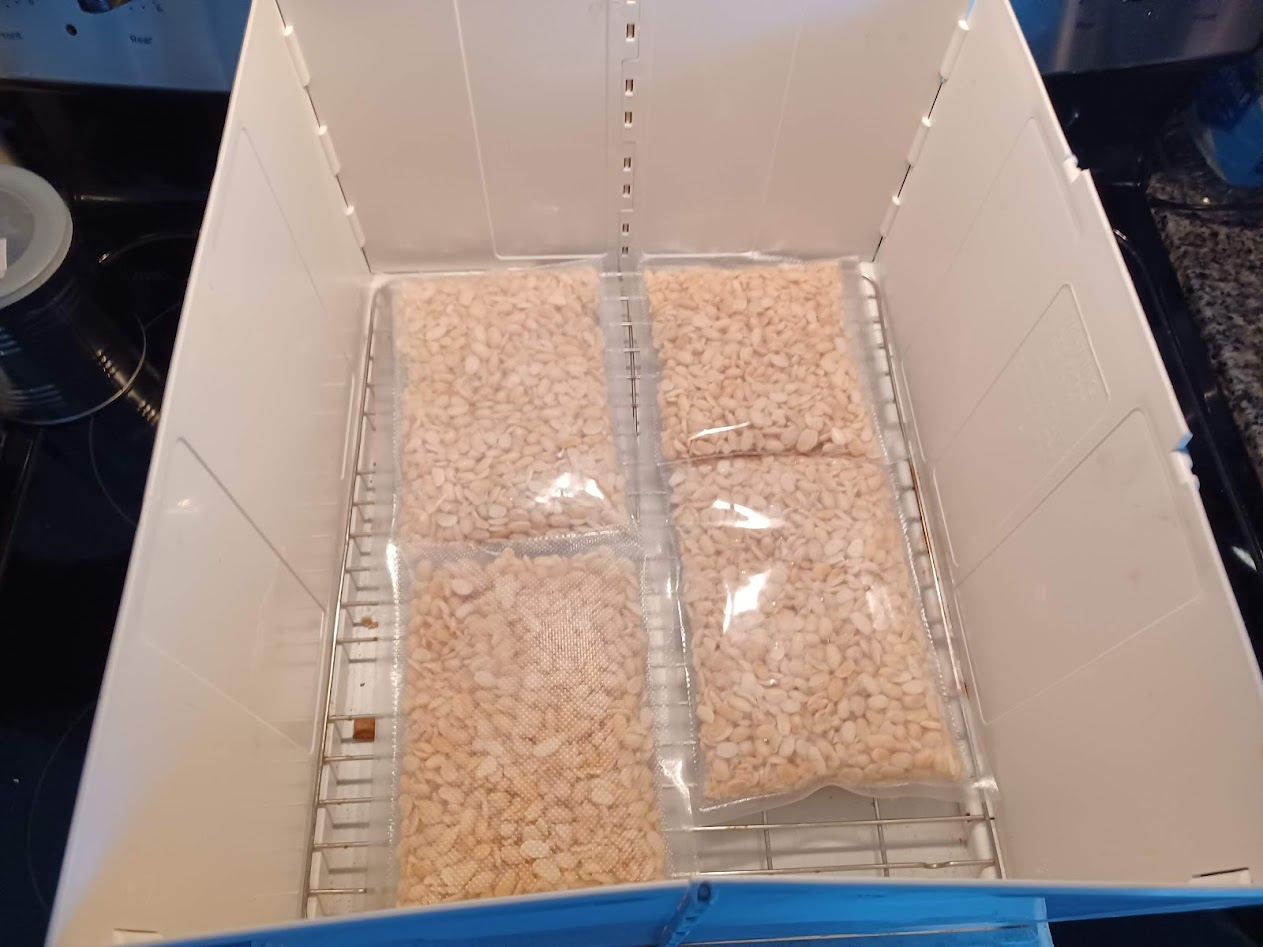
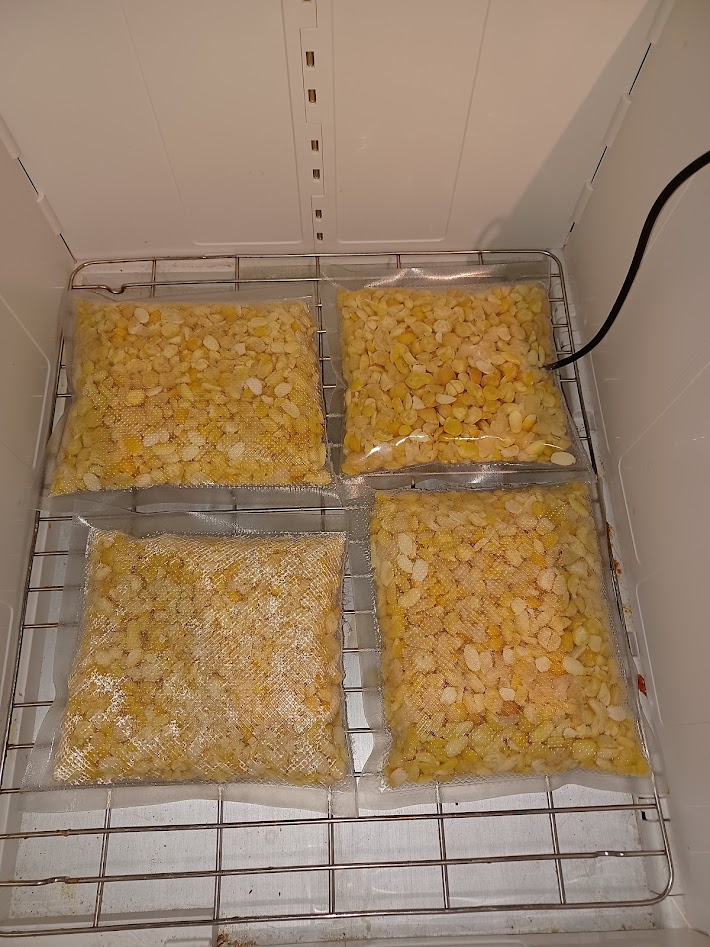
Mixed the starter into the cooled, dry beans. Packed them into the perforated bags, pressed flat to about an inch thick, sealed them up.
Incubation
At this point I hadn’t confirmed the optimal incubation range. A quick search turned up this:
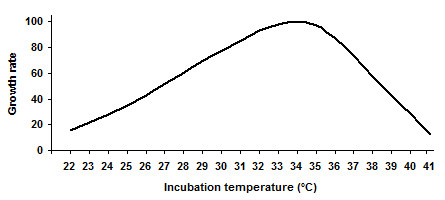
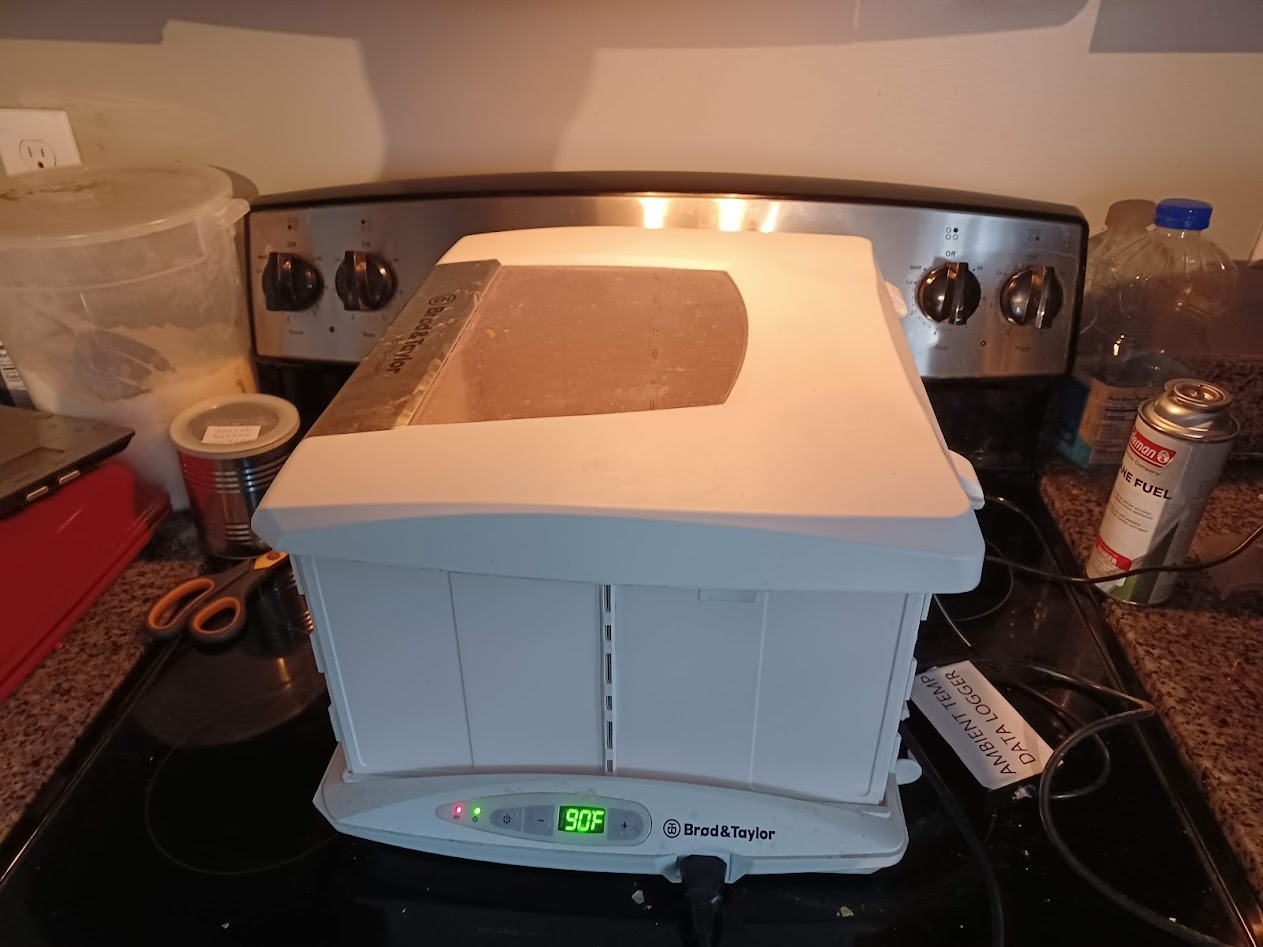
I adjusted to 86°F and loaded the bags.
Over-Engineering the Monitoring
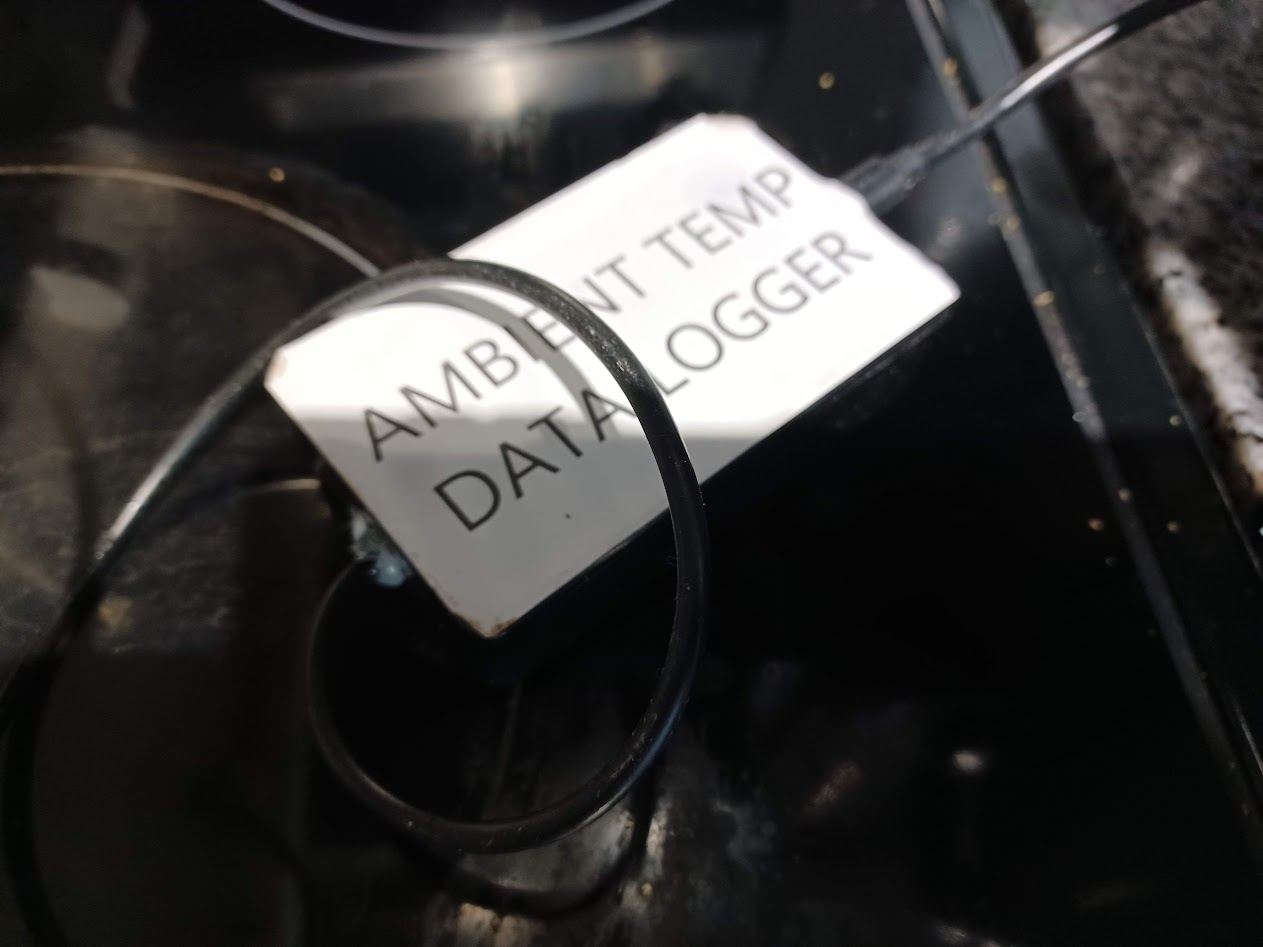
I wanted the actual temperature inside the bean cake, not just the ambient air reading from the incubator’s display. So I ran a probe thermometer directly into one of the bags.
Then I built a data logger.
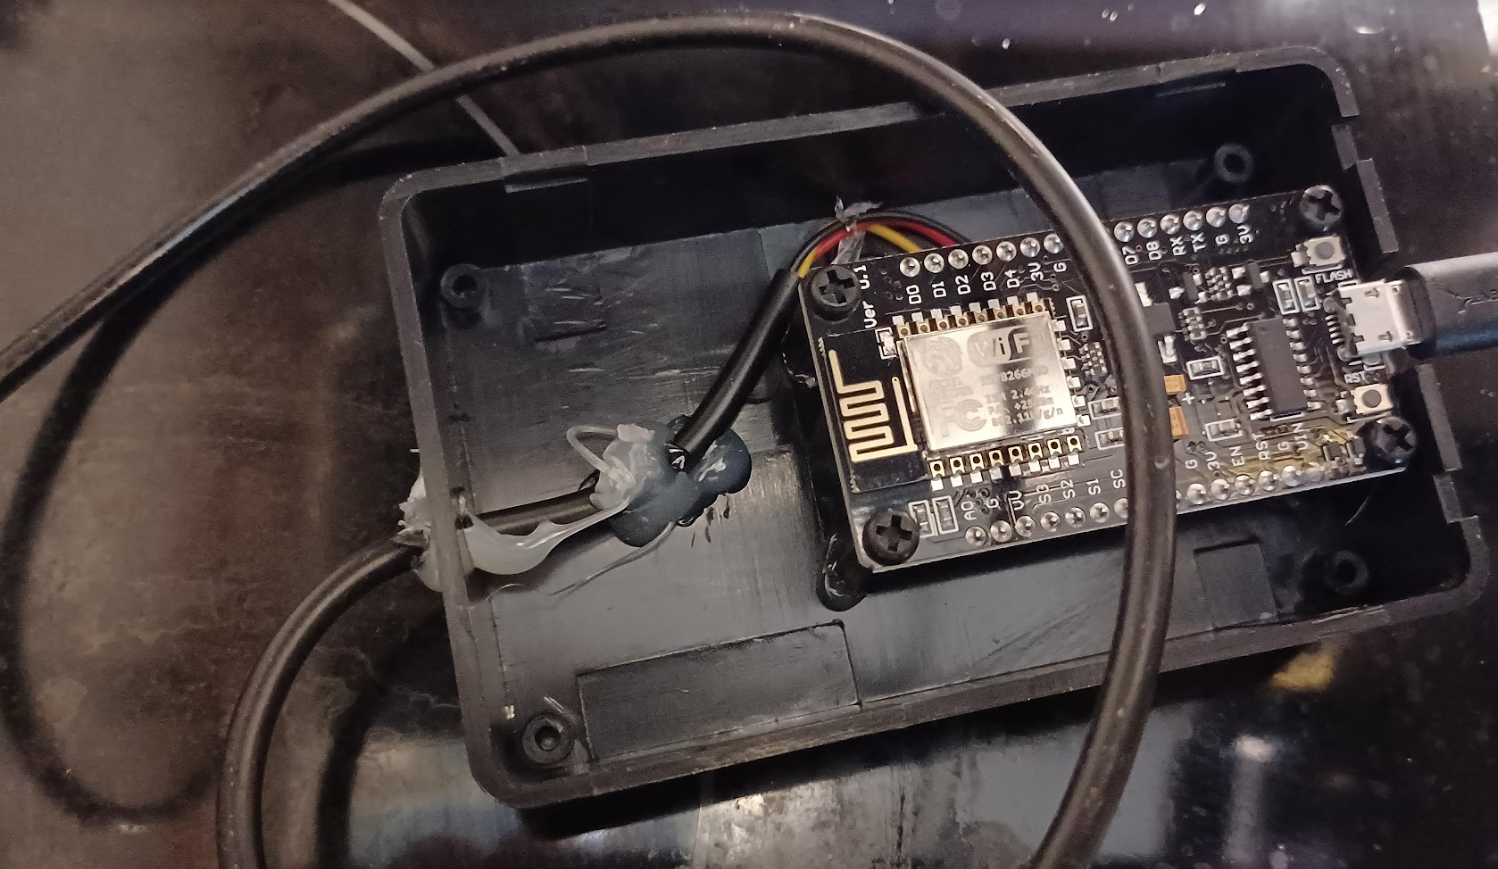
An ESP8266 microcontroller, programmed with Arduino to read the temperature sensor and transmit data over WiFi at three-second intervals.
I wrote a small web server so I could check temperatures from my phone. If someone was going to tell me the incubation temperature was wrong, I’d have a timestamped log at three-second resolution to discuss.

Was this level of monitoring necessary for making tempeh? No. But the troubleshooting advice I kept getting was some variation of “your temperature was probably wrong,” and I was done guessing.
The Wait
After 12 hours: nothing visible. The bags looked exactly the same as when I loaded them.
I wrote a pointed review of the tempeh starter on Amazon.
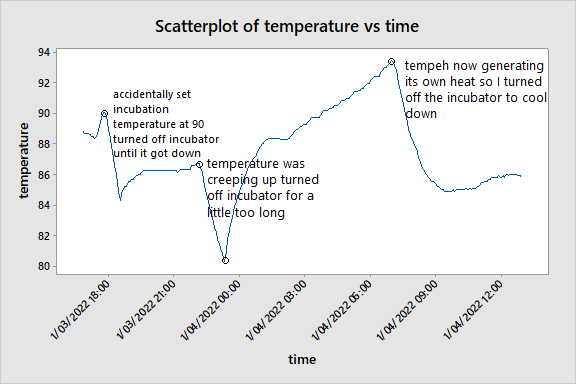
But I checked back at lunch the next day and noticed something. The tempeh didn’t look different yet, but the temperature probe told a different story — the internal temperature was climbing above ambient. The beans were generating their own heat. Something was growing.
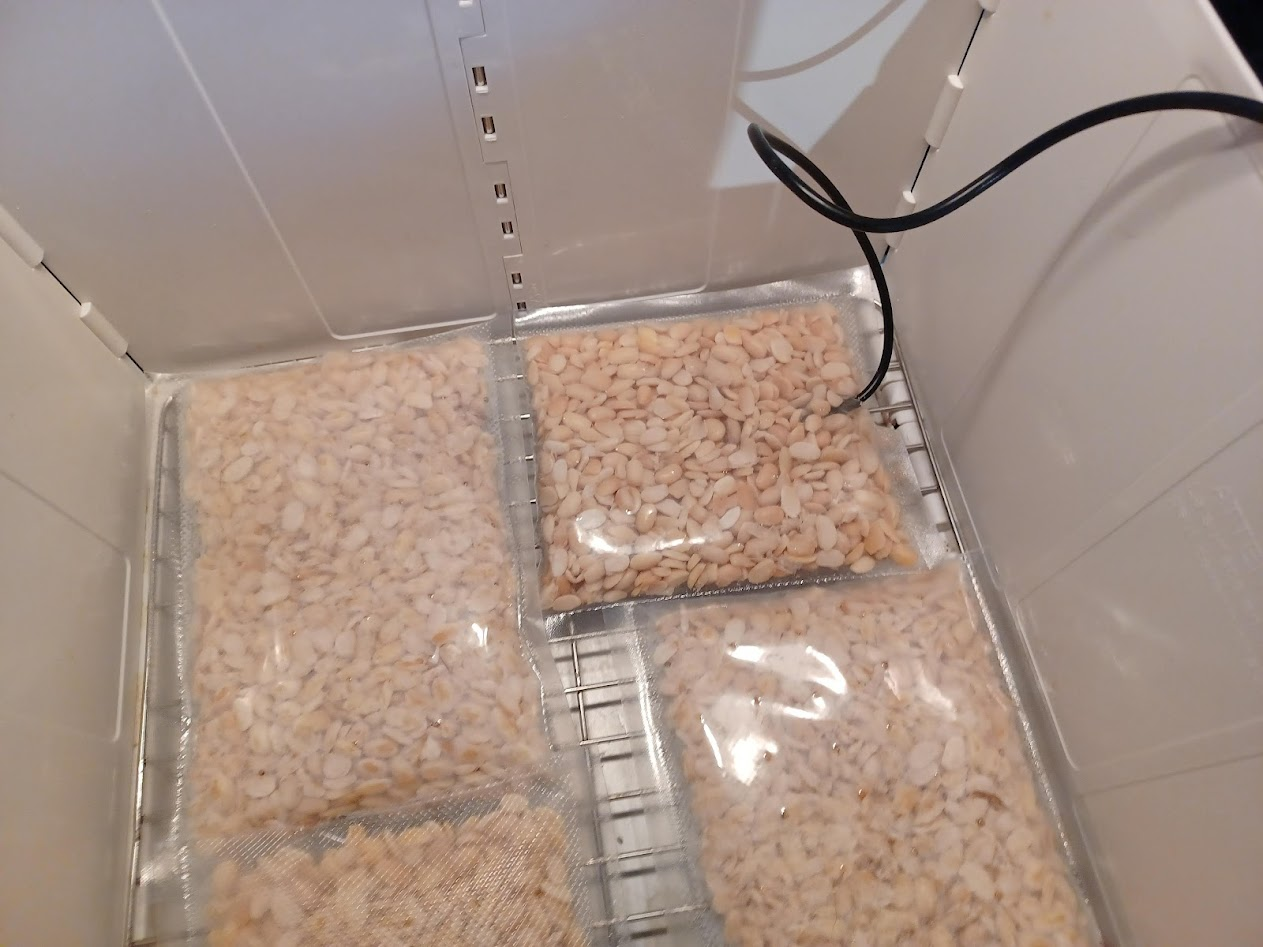
It Worked
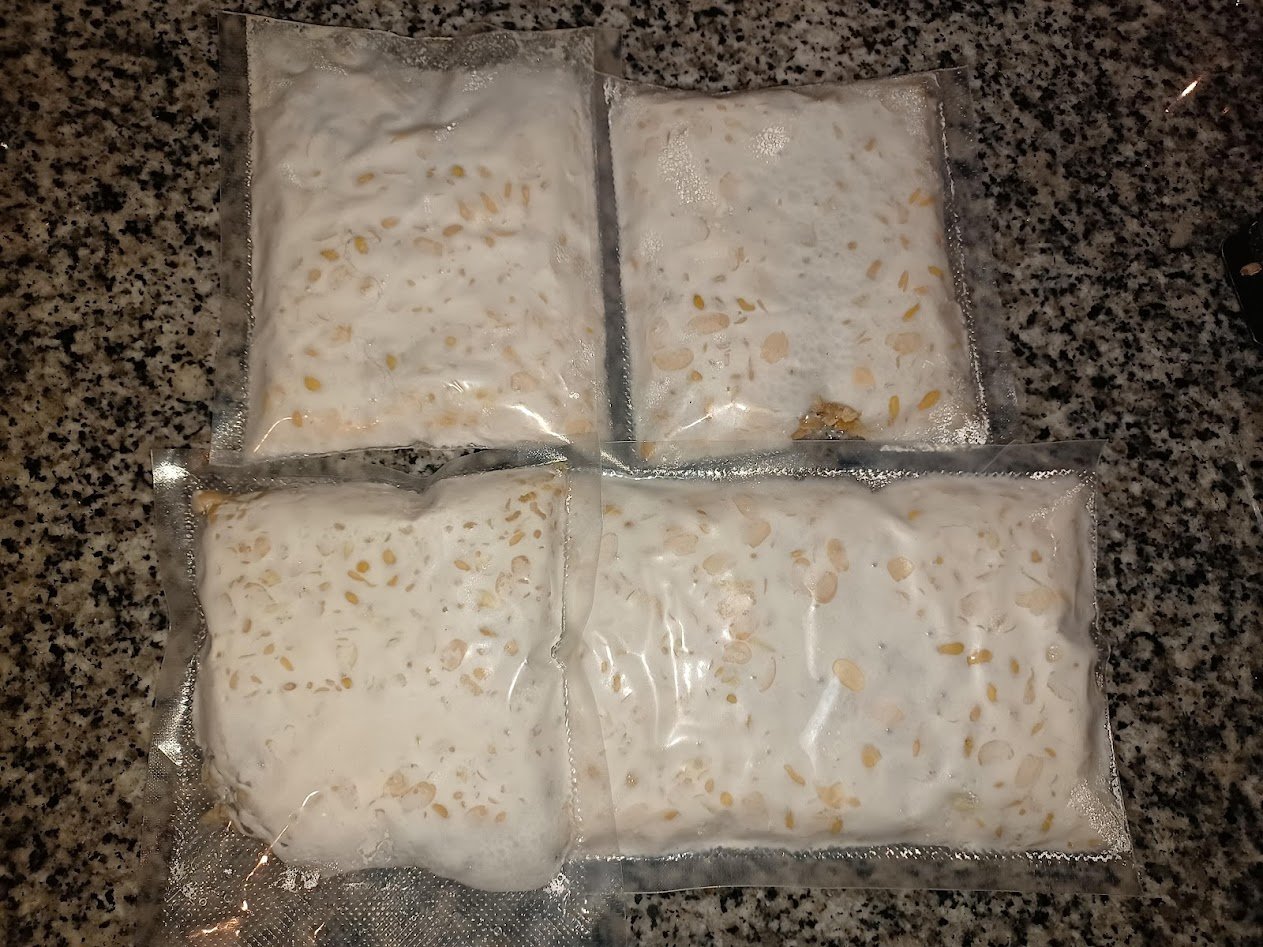
I opened the incubator and saw mycelium.
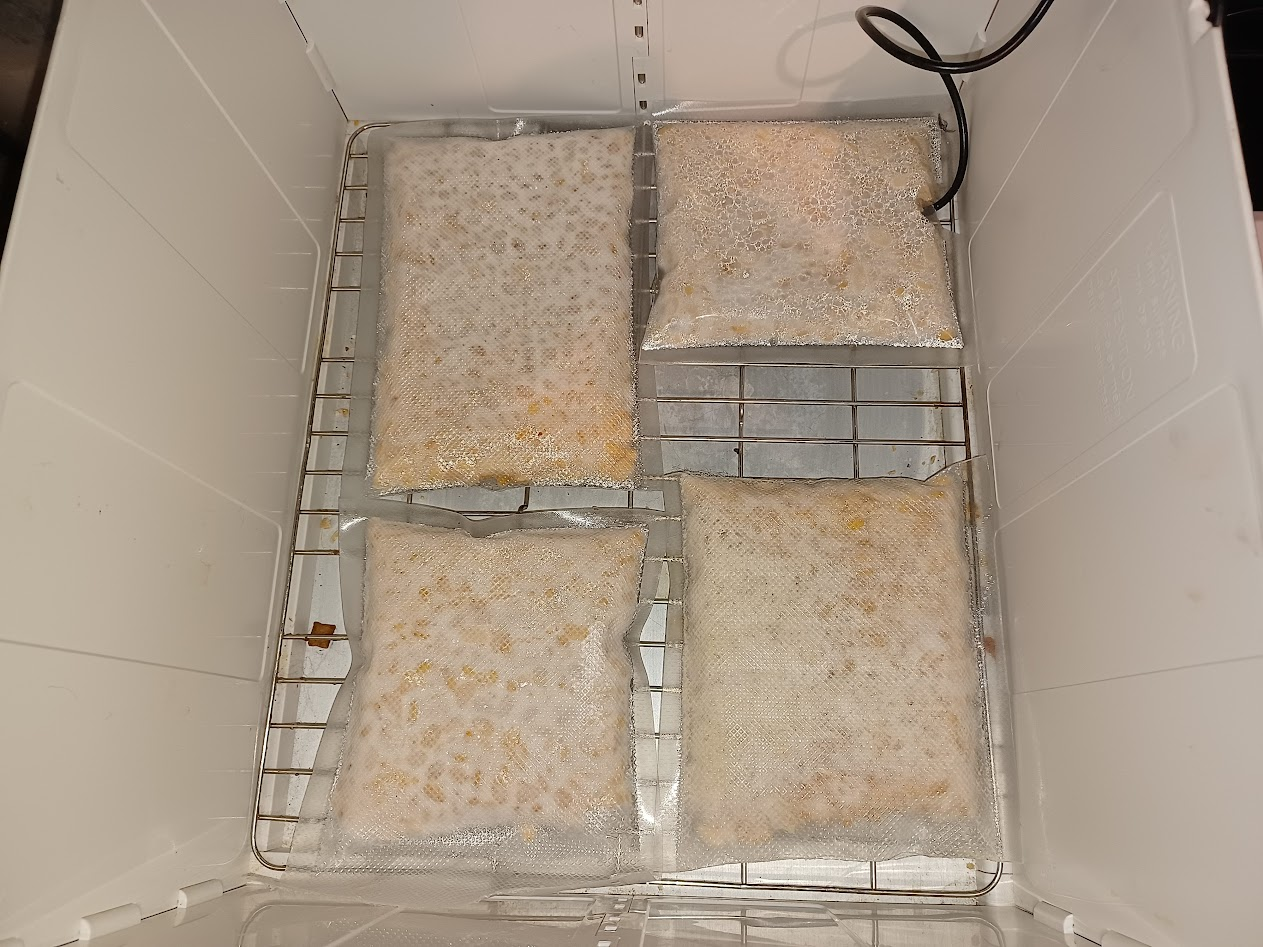
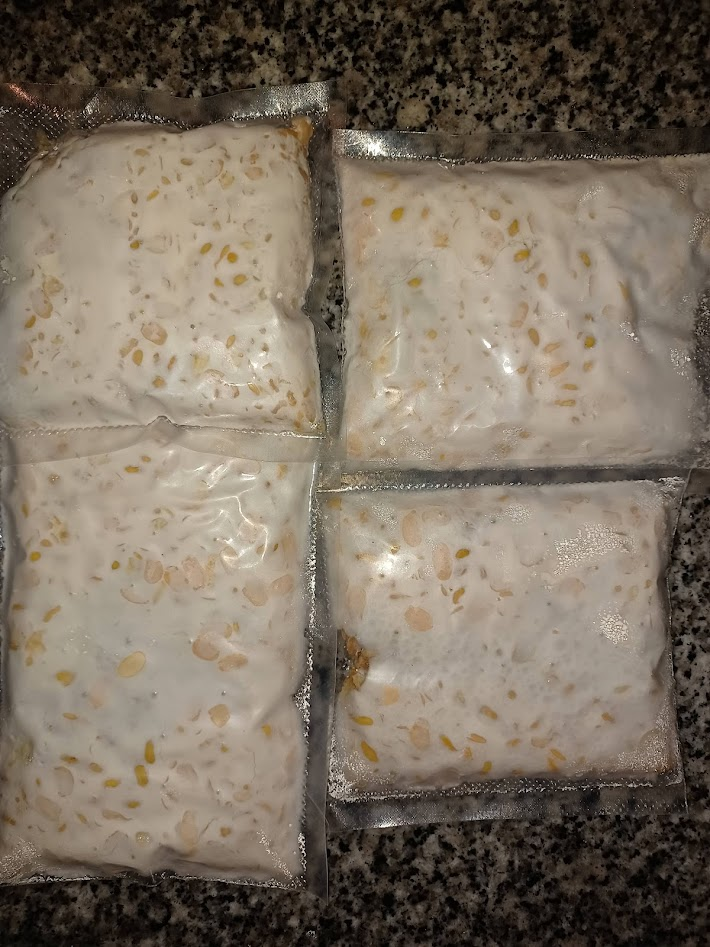
A few more hours and the beans were fully bound together. Dense, white, solid blocks.
I changed my Amazon review.

What Actually Mattered
The vague troubleshooting guides aren’t wrong, exactly — they’re just useless without measurement. “Too hot” and “too cold” don’t mean anything without a number attached. After going through this with three-second temperature resolution and documented steps, here’s what I think actually makes the difference:
- Dry the beans completely. Not “they look dry” — your hand shouldn’t feel any moisture when you grab a fistful. Then dry them a little more. Then add vinegar and dry that too.
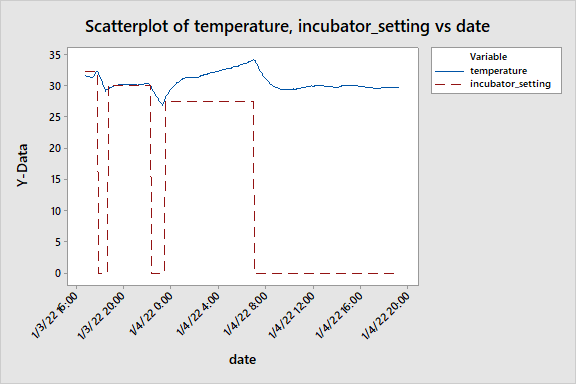
- Start around 86°F (30°C), but watch it. Once the mold takes hold at around 18–24 hours, it generates enough metabolic heat to overshoot the optimal range. You may need to turn the incubator down or off entirely.
- Twelve hours of nothing is normal. The growth is invisible at first. If your temperature is in range and your beans were properly inoculated, wait. It happens fast once it starts.
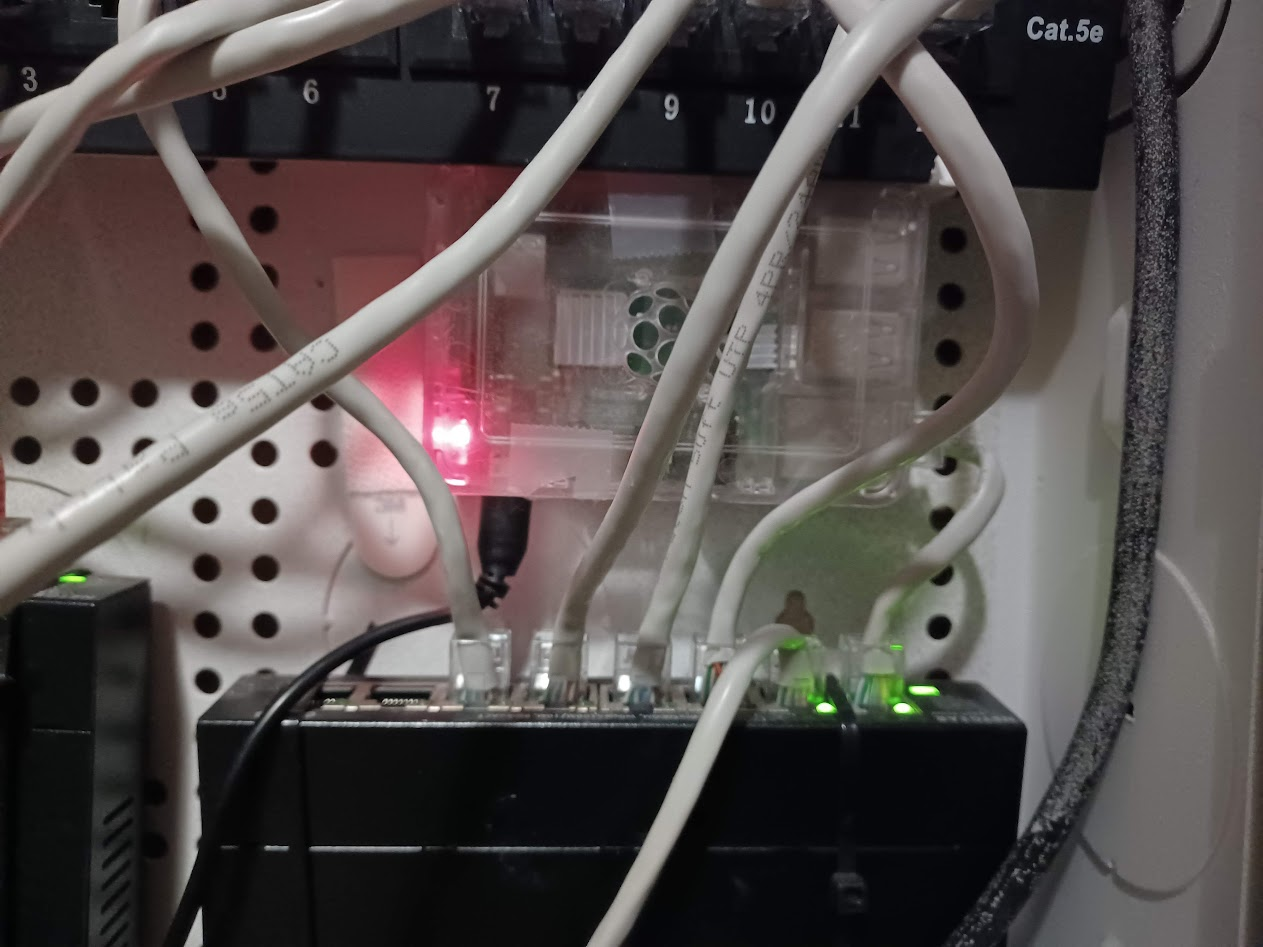
- Measure what you can. You don’t need an ESP8266 and a Raspberry Pi (probably). But a probe thermometer inside the bean cake, rather than relying on the incubator’s ambient display, would have saved me several failed batches.
Leave a Reply